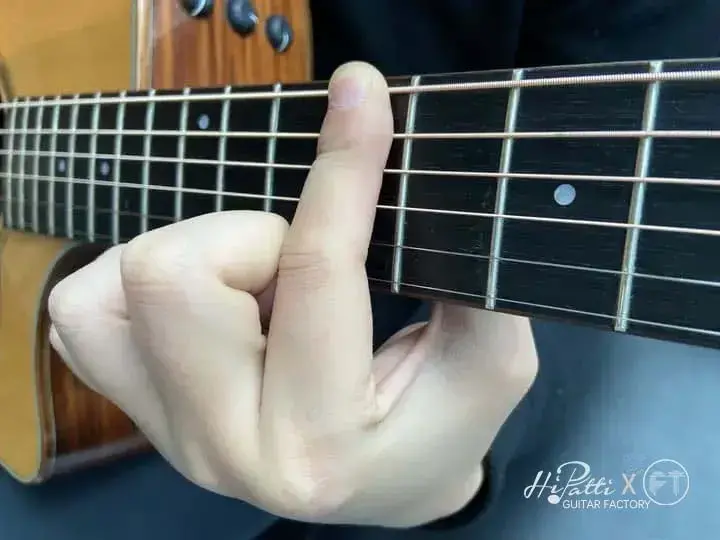
Correct Hand Gestures for Holding the Piano - Guitar Beginners Must Know
Many beginners struggle with proper guitar-holding posture, leading to discomfort, hand pain, and a waning enthusiasm that can result in giving up on learning the instrument. In particular, the left-hand position significantly impacts guitar playing, and incorrect posture early on can hinder progress in advanced stages.
Mastering the correct guitar-holding techniques is beneficial for beginners, making playing more comfortable and effortless.
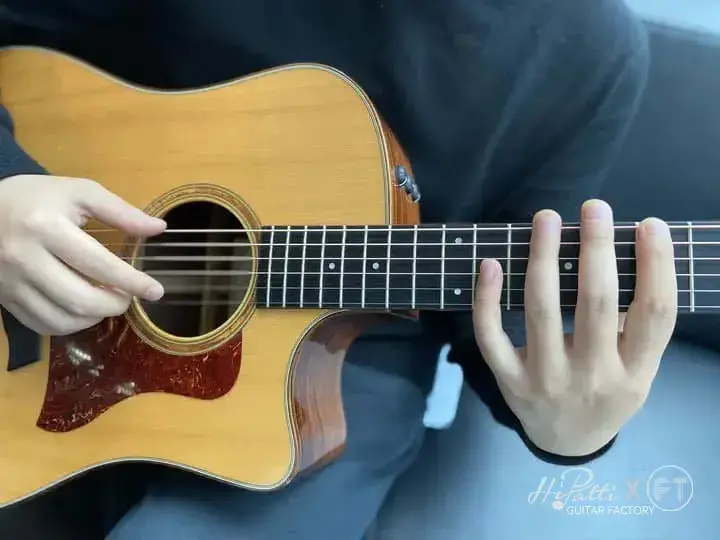
Finger Stretching
How to stretch fingers?
Practice "Crawling Fingers." Place the index finger on the first fret of the first string, pluck the string, then place the middle finger on the second fret while keeping the index finger in place. Next, place the ring finger on the third fret without lifting the middle finger, and finally, place the pinky on the fourth fret without releasing the ring finger. This completes one string, and you should repeat this process for the remaining strings until you become proficient and can play at speed without producing unwanted noise. This exercise will help stretch your fingers.
Gripping Technique and Chord Placement
The primary points of contact in the gripping technique are the thenar and the base of the thumb, requiring an even and relaxed force to achieve a "gripping" sensation. When placing chords, follow the "low to high" principle, meaning start with the lower strings and move to the higher strings.
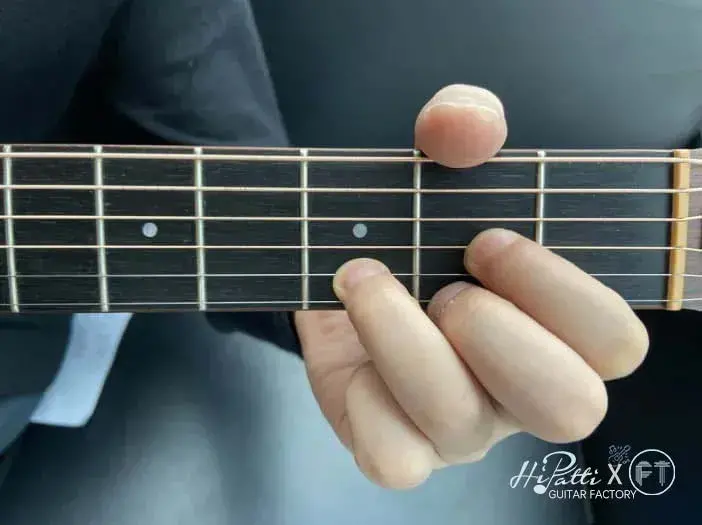
High Position Technique and Right-hand Tapping
High position technique includes both barre and non-barre methods. The barre method is similar to the standard technique, while the non-barre method typically involves the gripping technique. In the gripping technique, the hand should not be overly tense. Tapping refers to right-hand finger tapping. The key to this technique is the strength and precision of the right-hand fingers, keeping them close to the strings.
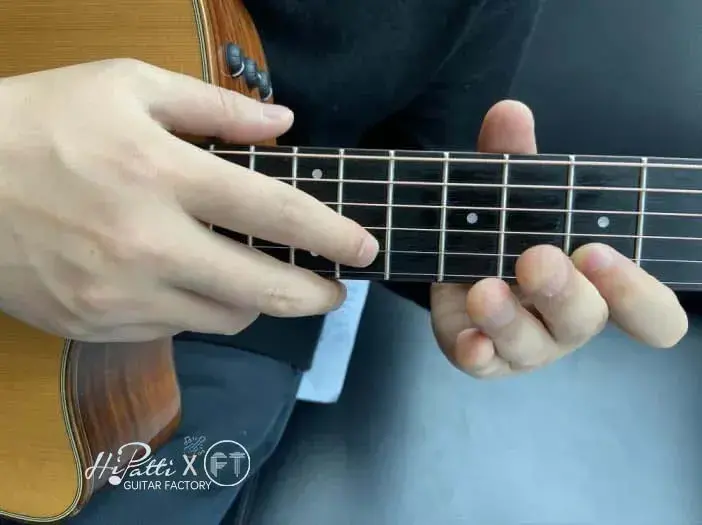
Barre Technique
Barre practice involves several stages:
(1) Achieving a clear sound! Do not press the strings with the pad of the index finger but slightly to the side. Practice with a full barre, strumming or plucking the strings with the right hand, and listen to the sound while adjusting the left hand to find the right feel.
(2) Transitioning smoothly! This includes transitioning from open chords to barre chords and between different barre chords.
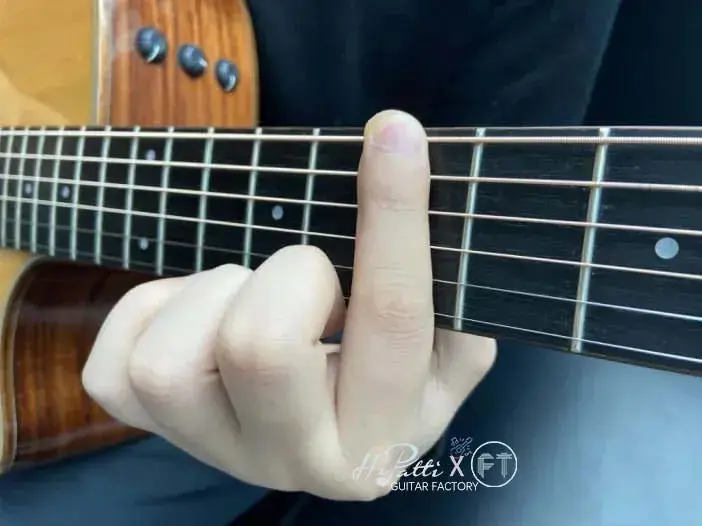
Chord Placement in the Gripping Technique
The key is to press the strings at an angle within the frets, close to the fret wires, with a relaxed hand to develop a sense of strength and effective muscle memory.
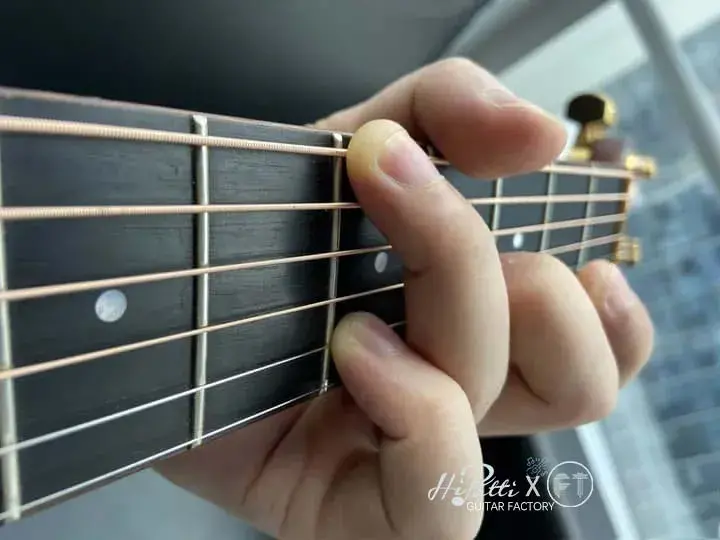
Finger Placement for High Strings
This technique is a combination of the gripping and finger stretching techniques, attempting to independently control the strength of all four fingers.
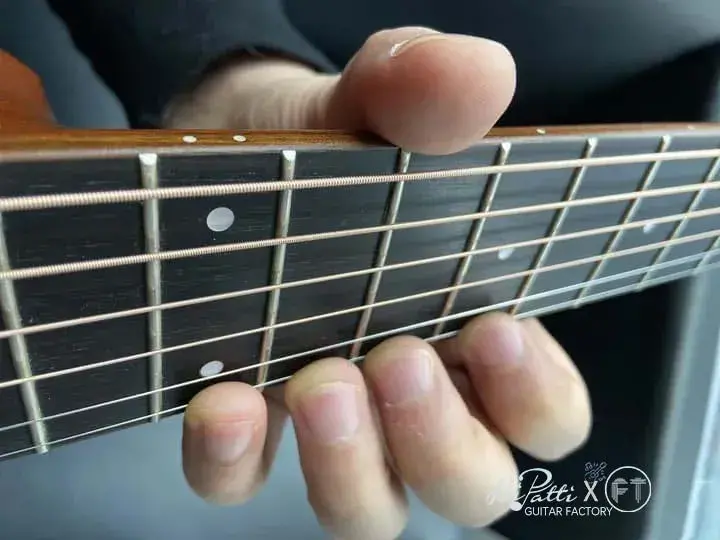
Inner Barre (for lower strings)

